
Tables experience dynamic forces, and inevitably, heavy things come to rest on our tables, along with the occasional leaning, sitting, or climbing person. We expect them to carry their weight and more. Naturally, one thinks of the table legs as an essential load-bearing component of the whole. Ultimately though, any DIY table build is a unique combination of leg strength, leg height, leg width, number of legs, and the unique properties of the table top slab's dimensions, material, grain, and thickness.
Given all of those variables, and since I am not with your specific slab, my advice is very much for general mechanical integrity and the goal of helping you build a rock-solid table. If you want to push the limits of a material, creating something architecturally significant, such as a cantilevered table, then the information you have about your specific project is likely greater than the information I can gain from a photograph of the slab. That being said, my advice is solid advice for any DIY table project. Having worked on over 10,000 projects of all different materials, sizes, and weights, I have the expertise to help you build a rock solid table. My guidelines will help clarify what type of bracing you may need, if at all, and what special considerations make bracing an essential structural component of your project. Let's look at two types of bracing.
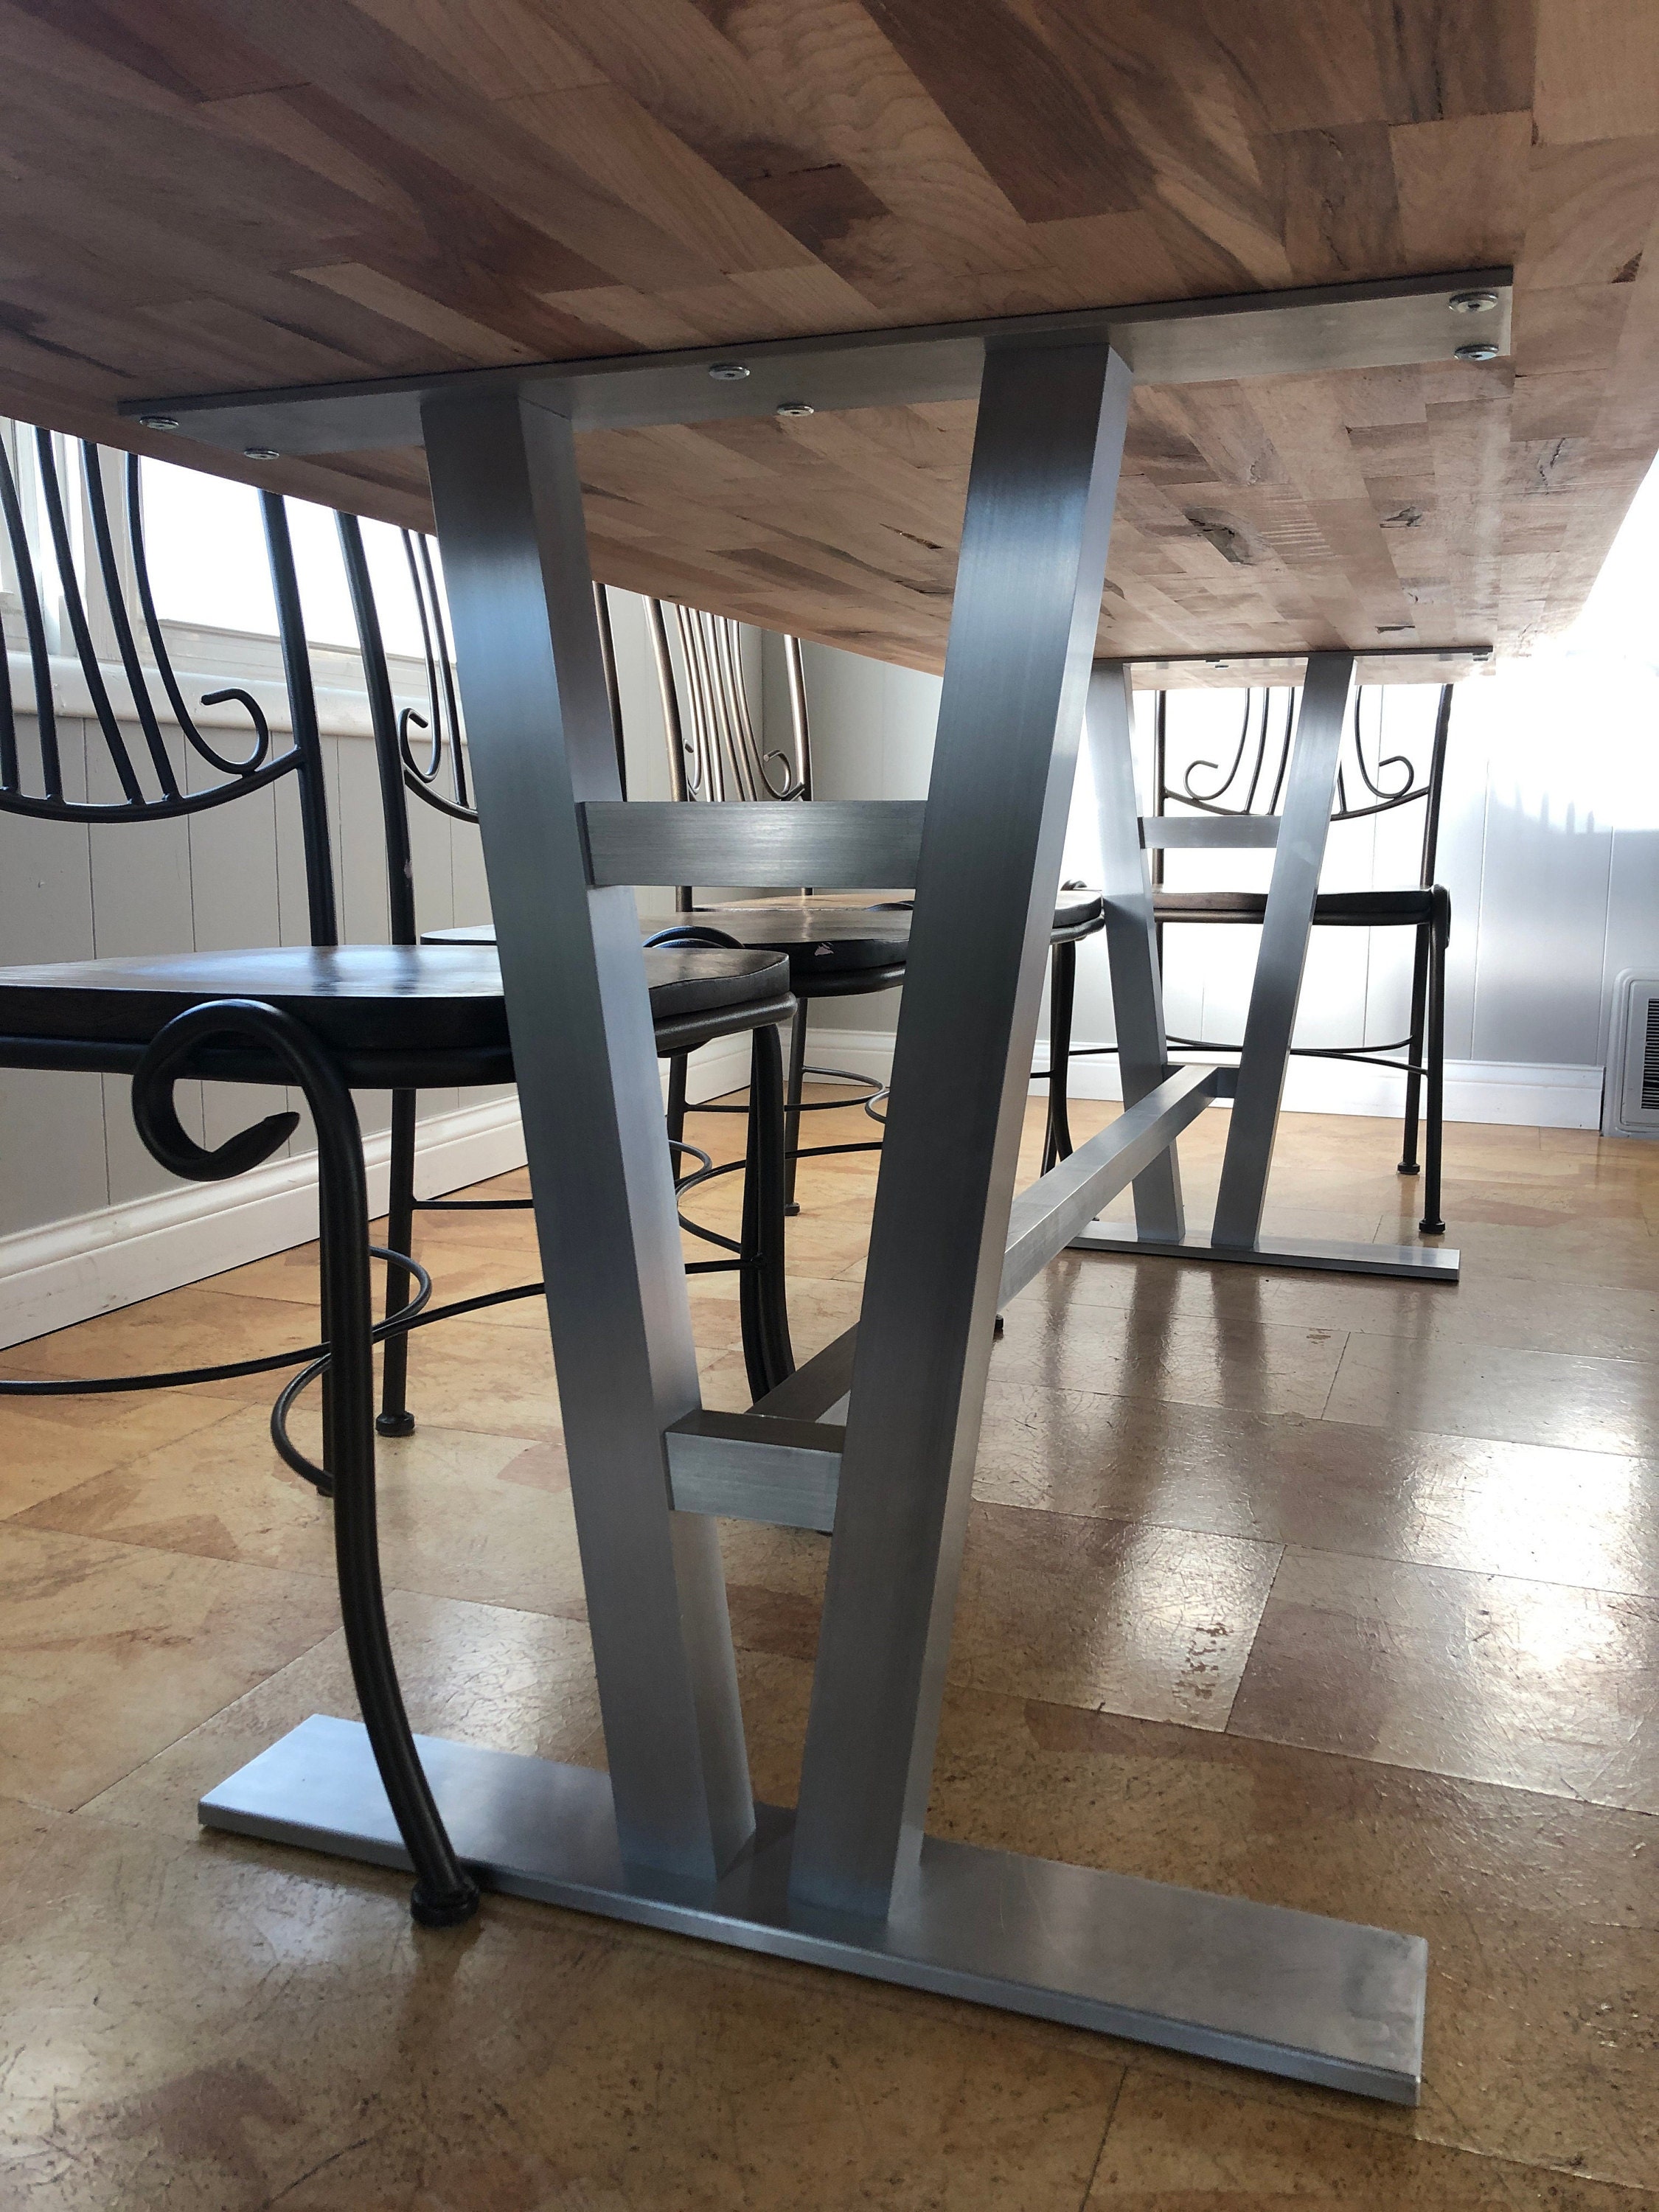
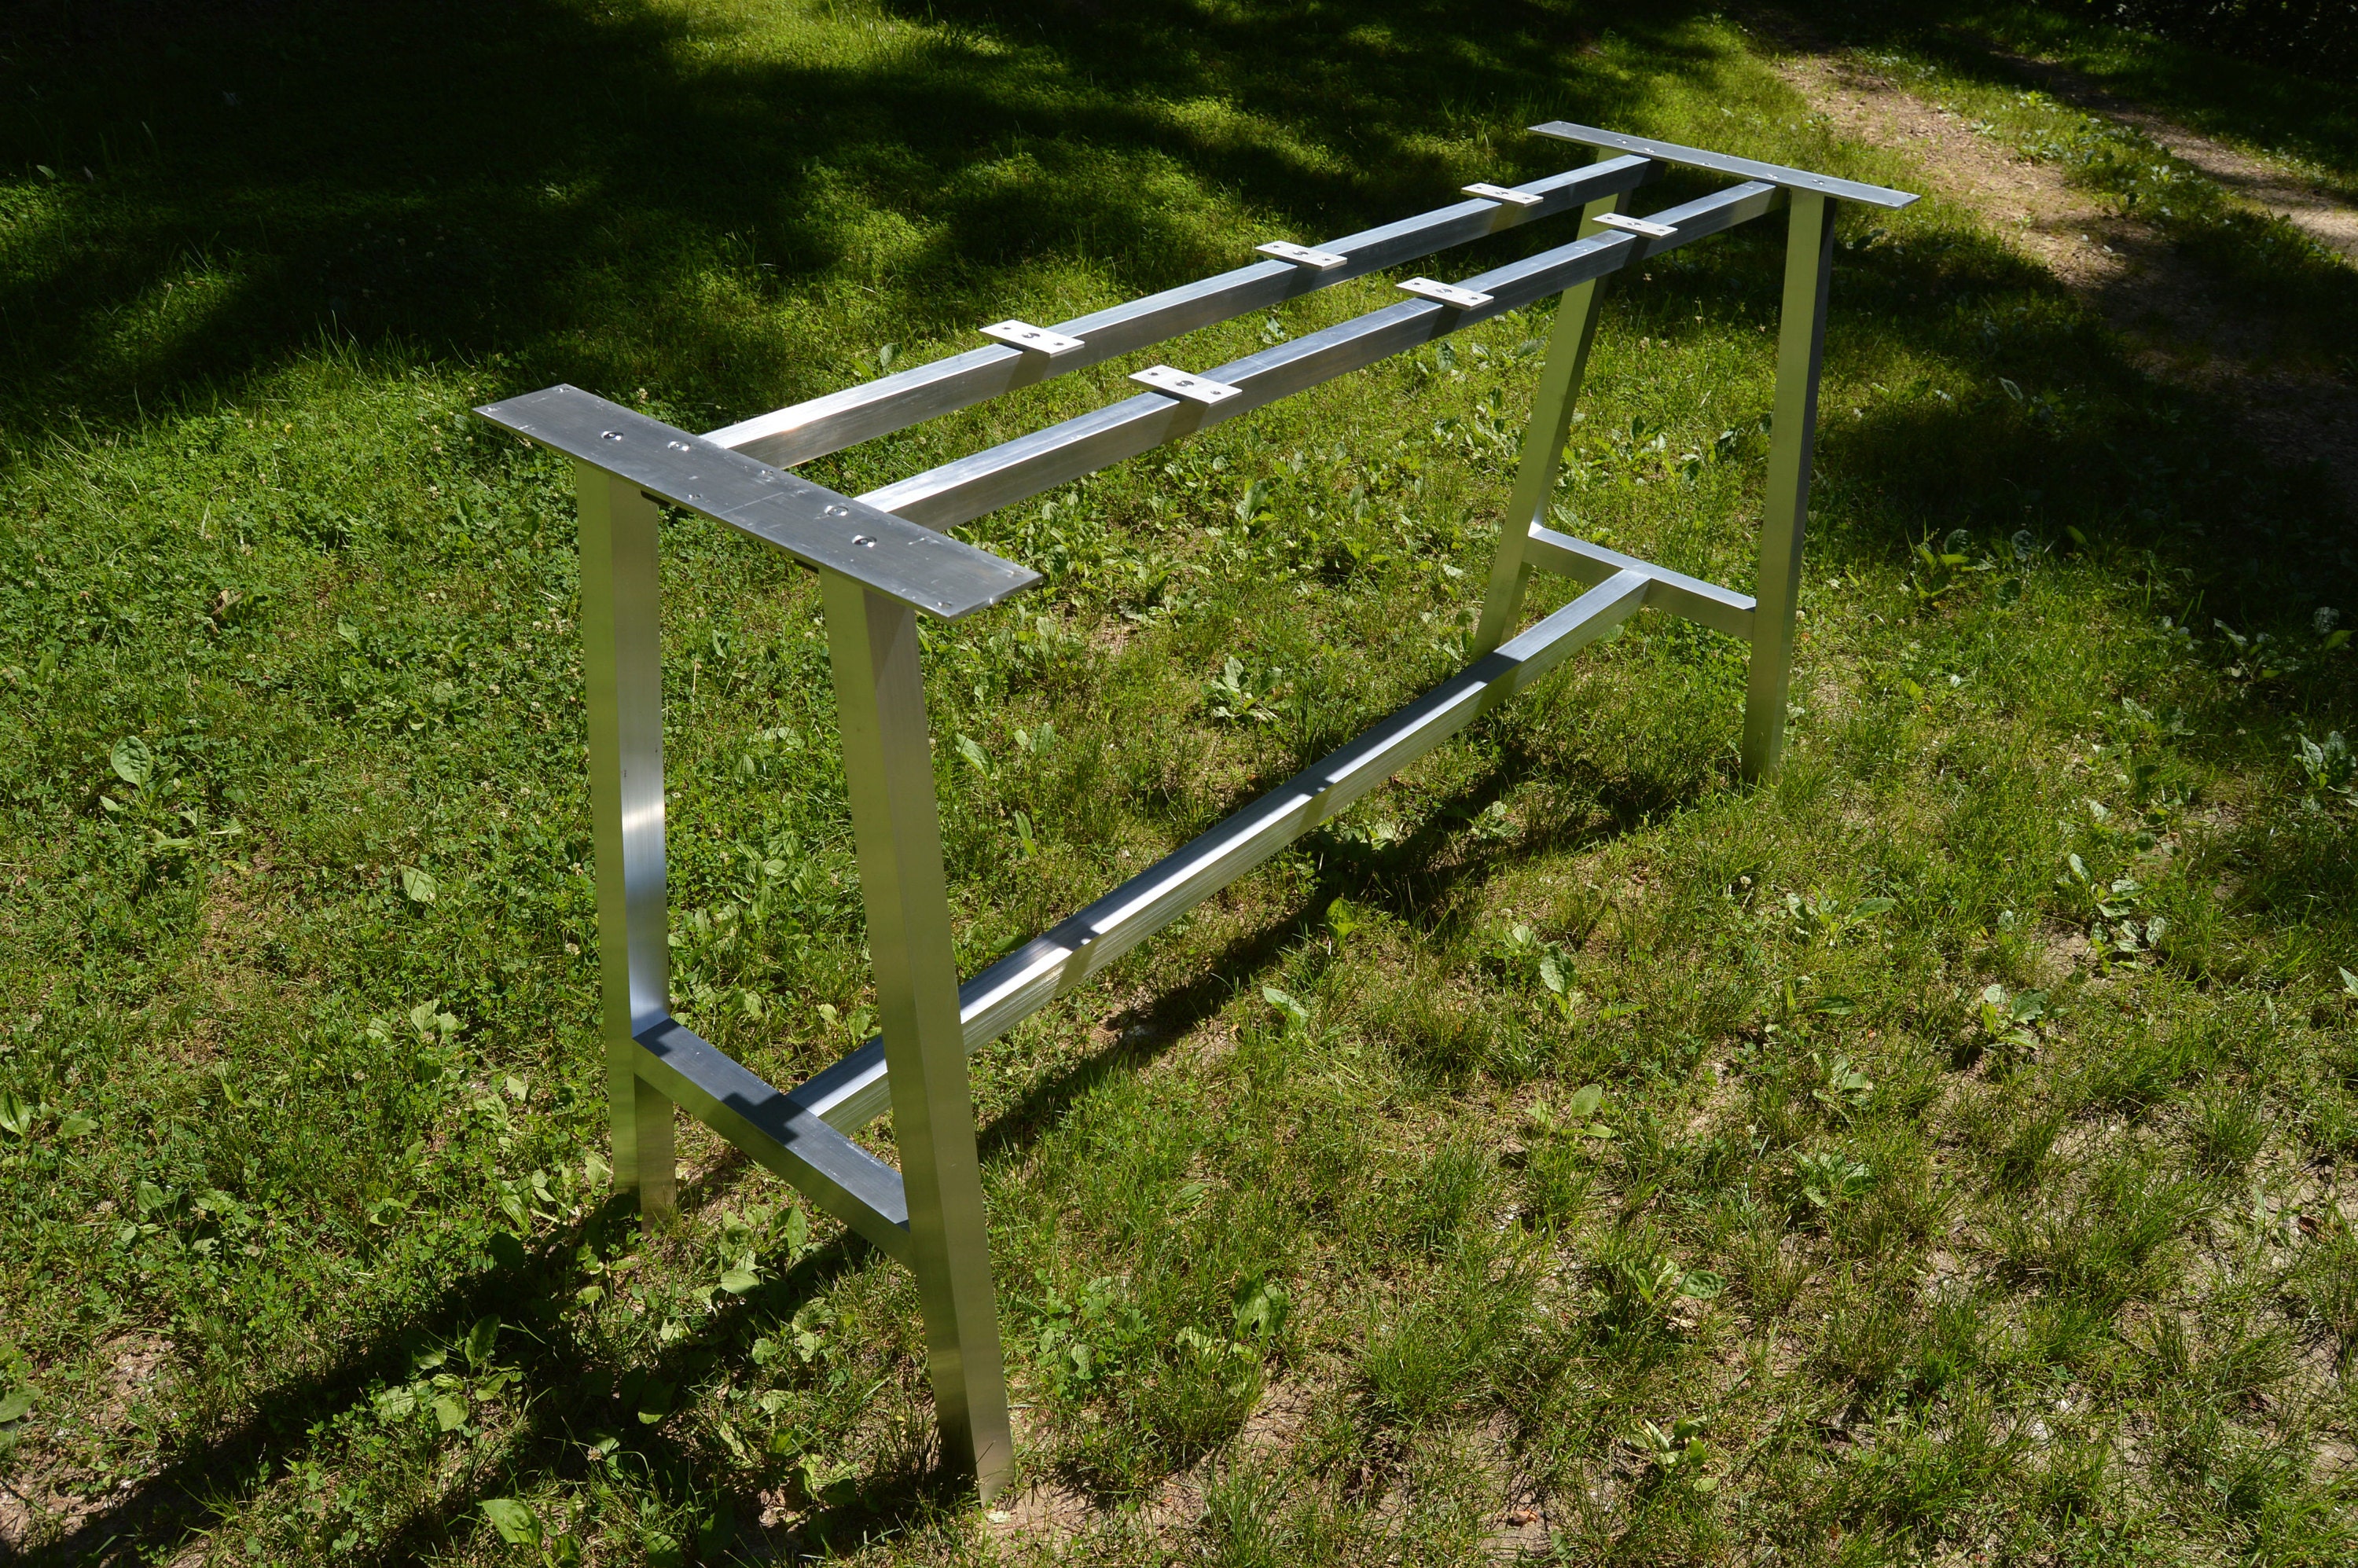
Anti Sag Braces: Anti sag braces are designed to support and remove the flexibility of a tabletop slab.
Lower Brace Add On: The Lower Brace Add On is designed to remove the forces that attempt to hinge the table leg, effectively trying to tear it from the tabletop slab.
The Basics of Leg Physics:
The best way to think about the stress on a table leg is to imagine that the table leg is a door, while the table top is the wall onto which said door is attached. The hinges of that door, well those are the leg mounting plates and the fasteners you use to attach the table leg to your tabletop. Every stress that is put on a freestanding table is transferred to the table legs. Like a door being opened and closed, the table legs are experiencing forces that attempt to hinge them at the table leg/table slab connection point. If your tabletop slab is mounted to some other structure, such as a wall or cabinet base, then these forces are already accounted for.
Freestanding tables, on the other hand, have no choice but to transfer stress and loads to the legs and the fasteners that hold them to your slab. Our goal is to design a table that properly accounts for the stresses this system will experience, because we don’t want our table leg (door) opening and closing in any way at all. When necessary, additional bracing effectively cancels out these forces, allowing the forces to be distributed evenly across the entire structure while the legs remain solid. The bracing requirements are different for both heavy tops and lightweight tops, but also different for the height of the table, and the size of the slab. Below are some guidelines to give you some decision-making information.
Heavy Top Over 150 Pounds:
Guidelines:
- Slab is more than 150 pounds + legs 22 inches or taller = use a Lower Brace Add On
- Slab is more than 150 pounds + legs 21 inches or shorter = no brace required
More Information:
The most basic variable is the top slab's weight. If the slab weighs more than 150 pounds, then using a lower brace add on is essential. If the table is coffee table height, then the lower brace isn't necessary. The longer the leg, the greater the forces are on the "door" analogy I mentioned above, so the shorter leg doesn't require any additional bracing.
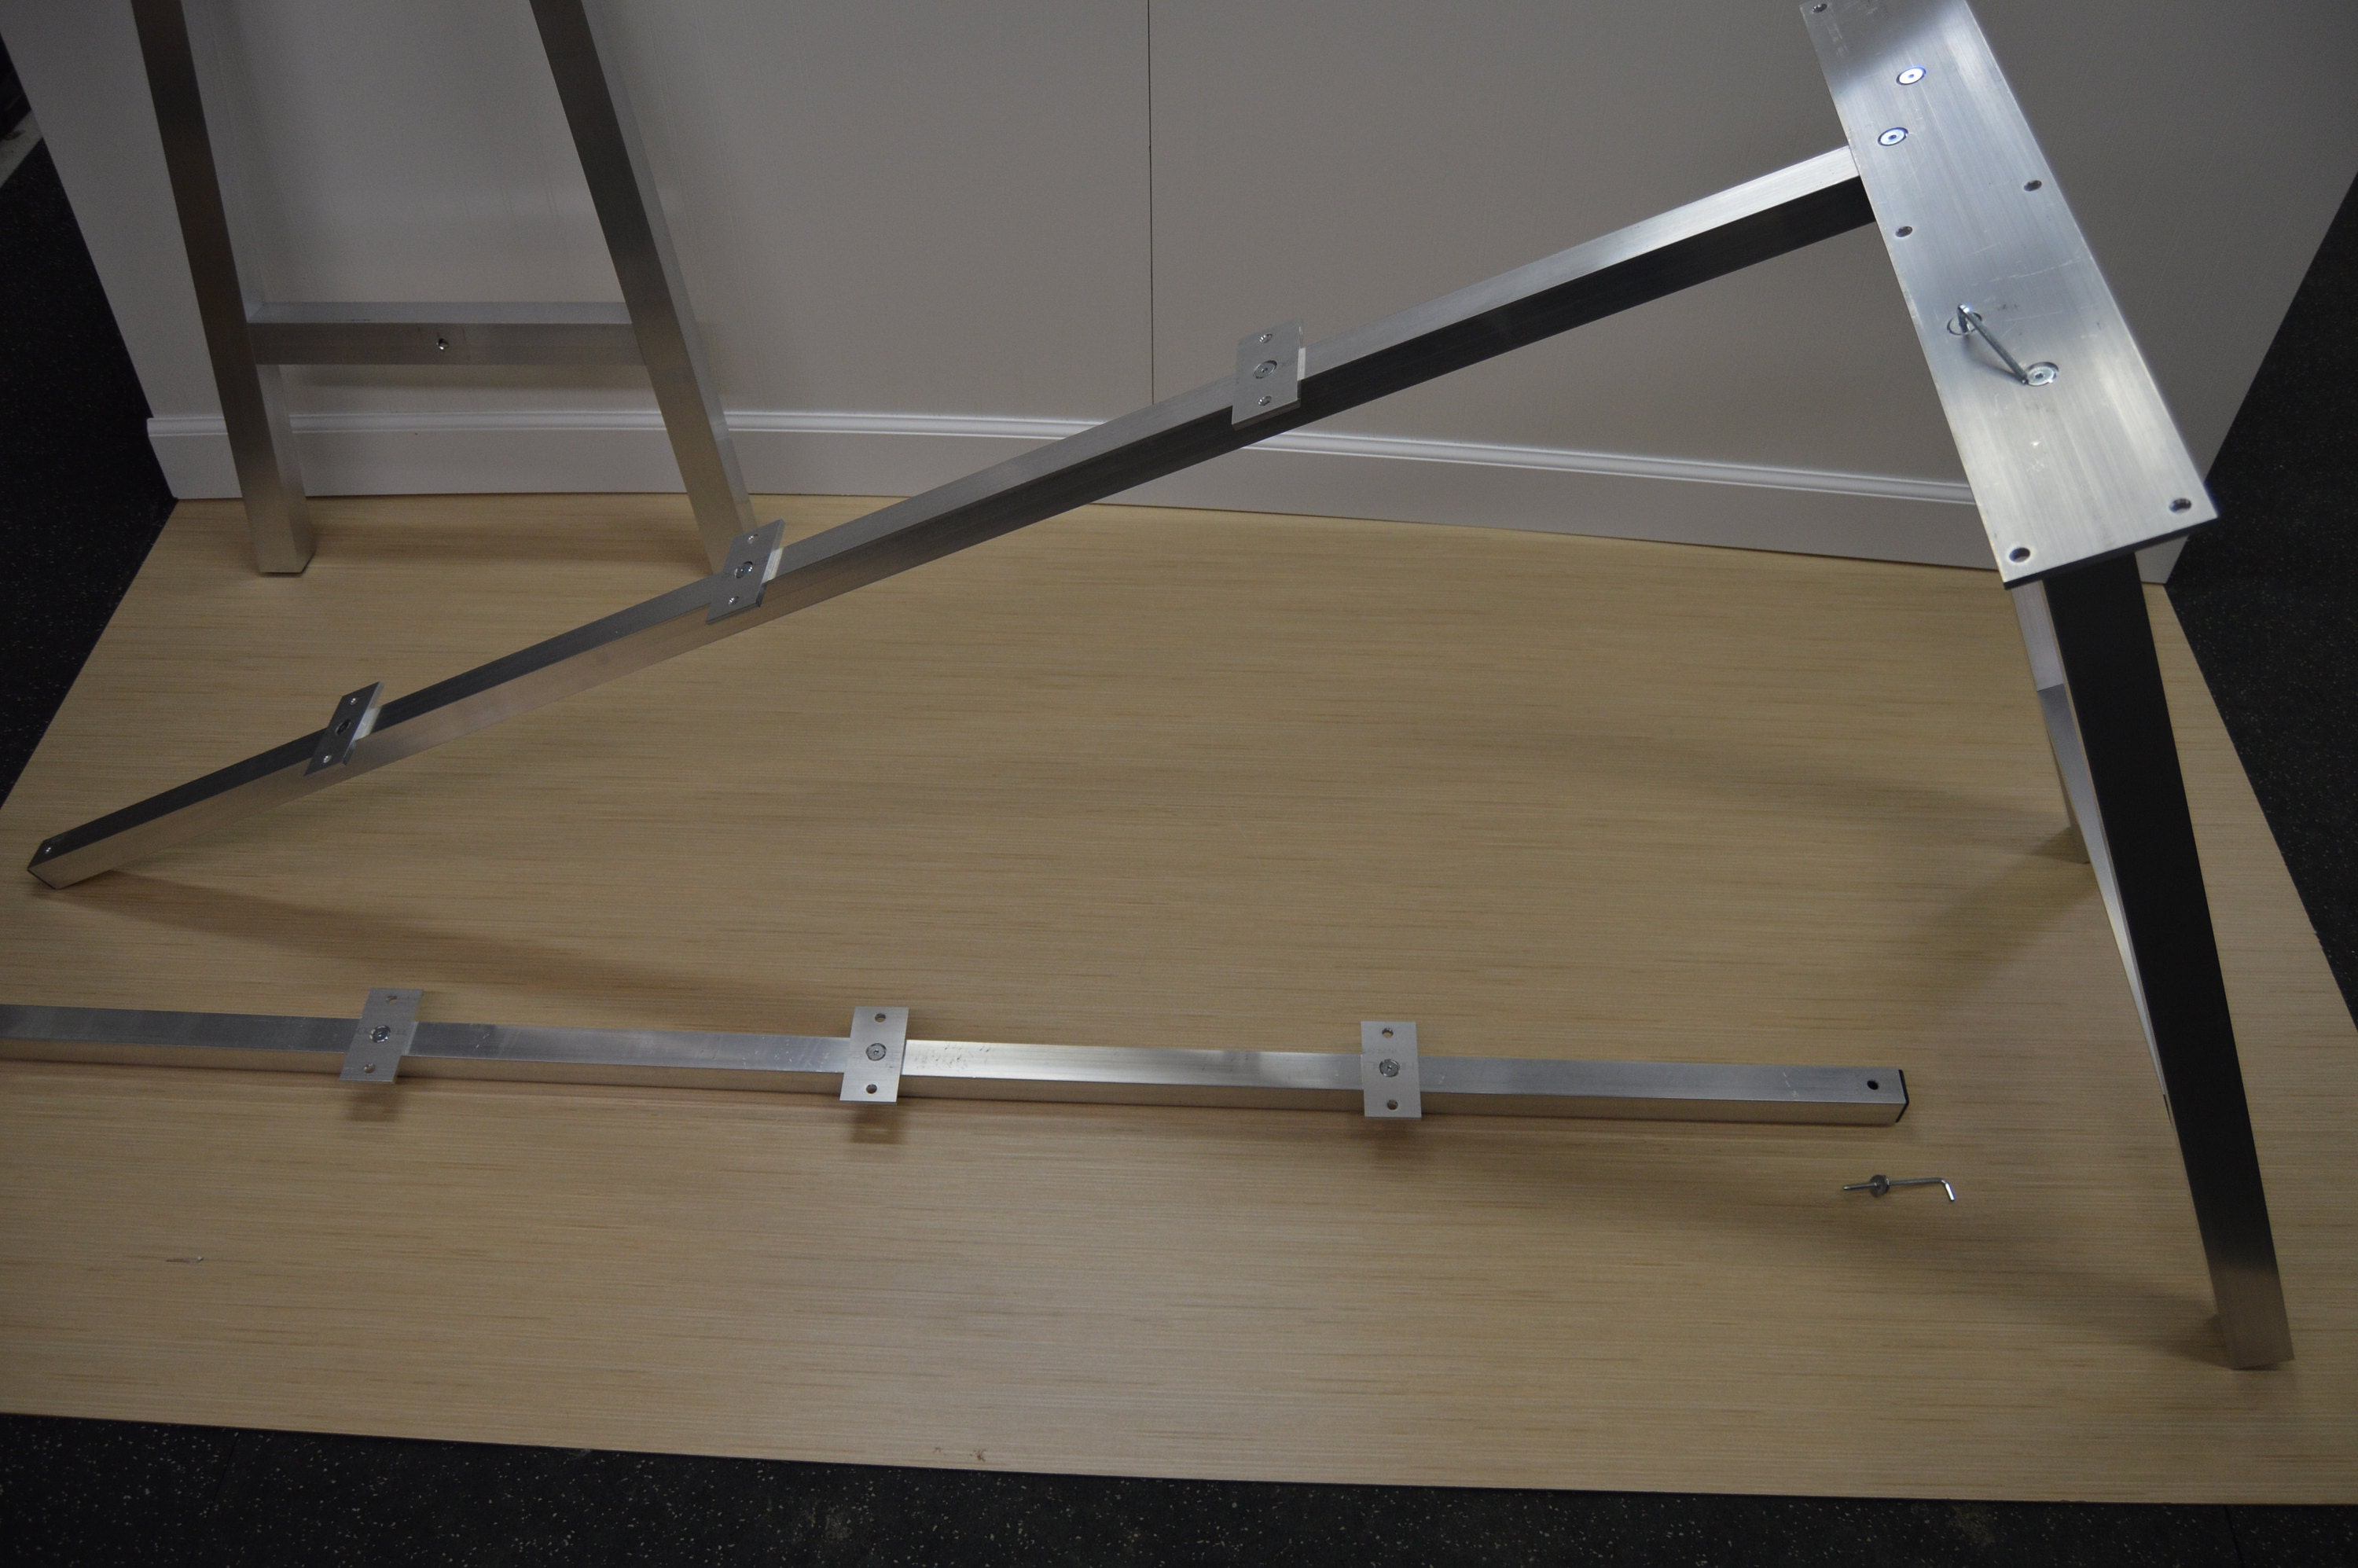
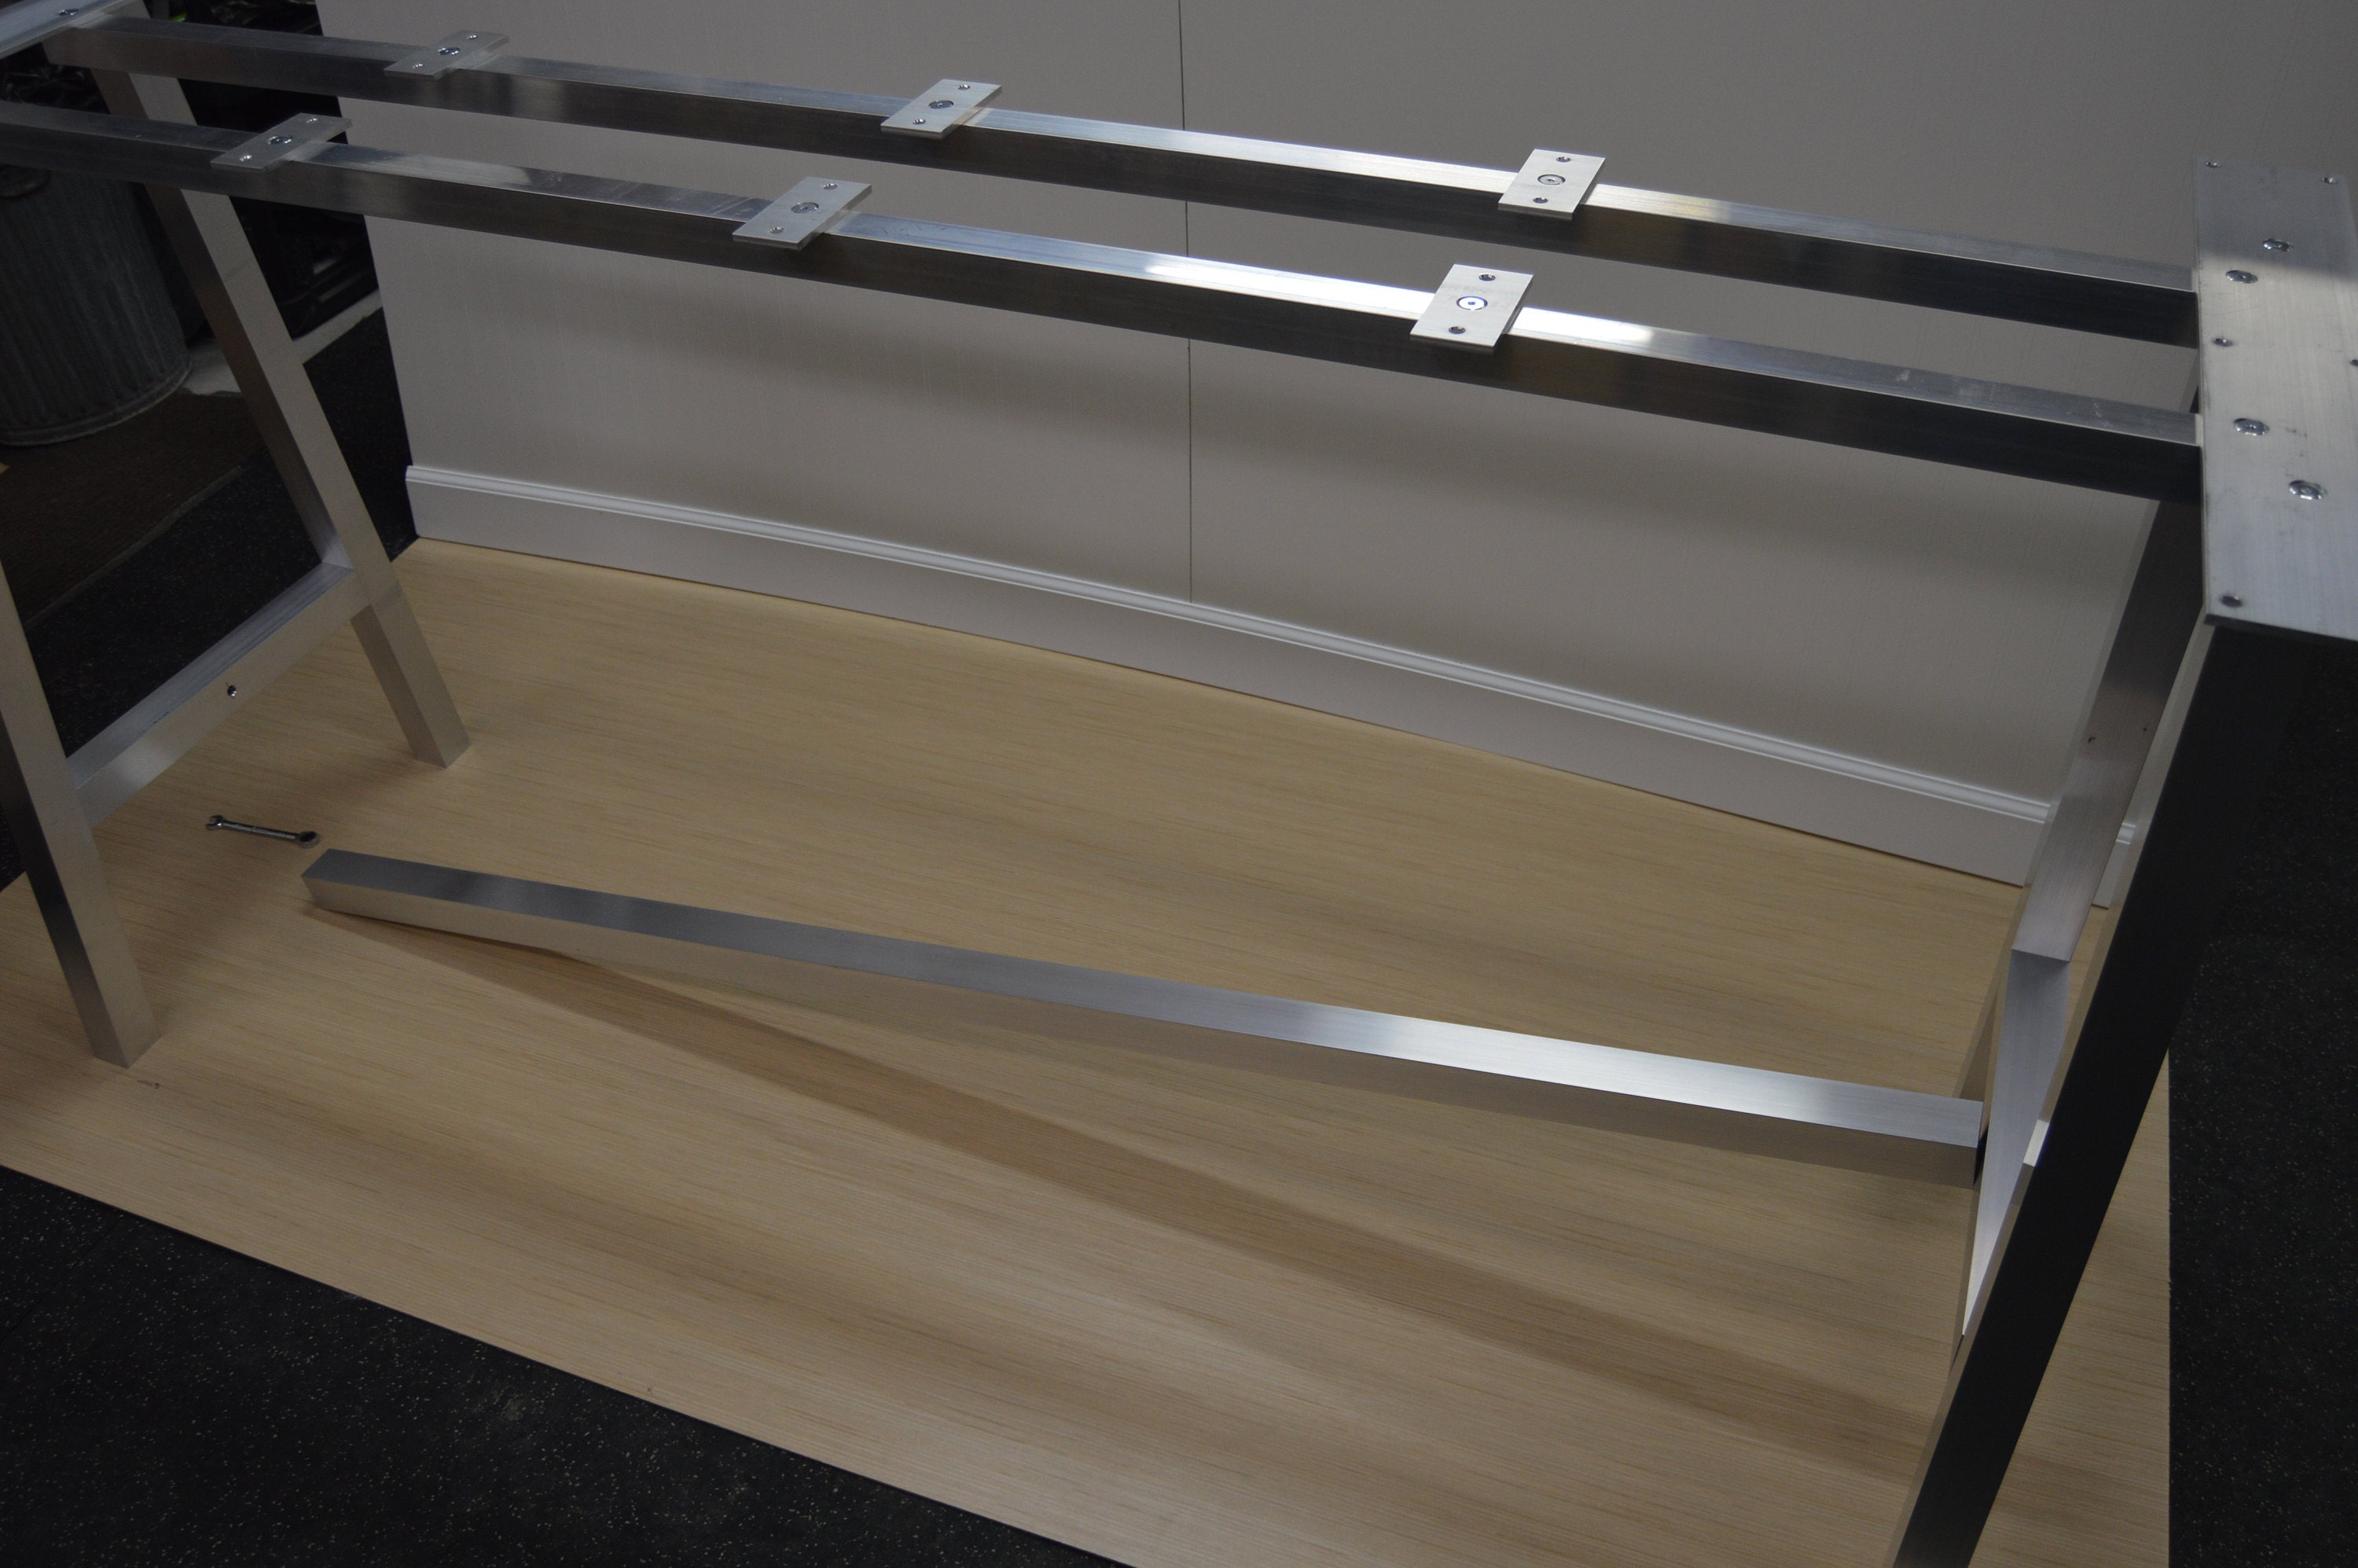
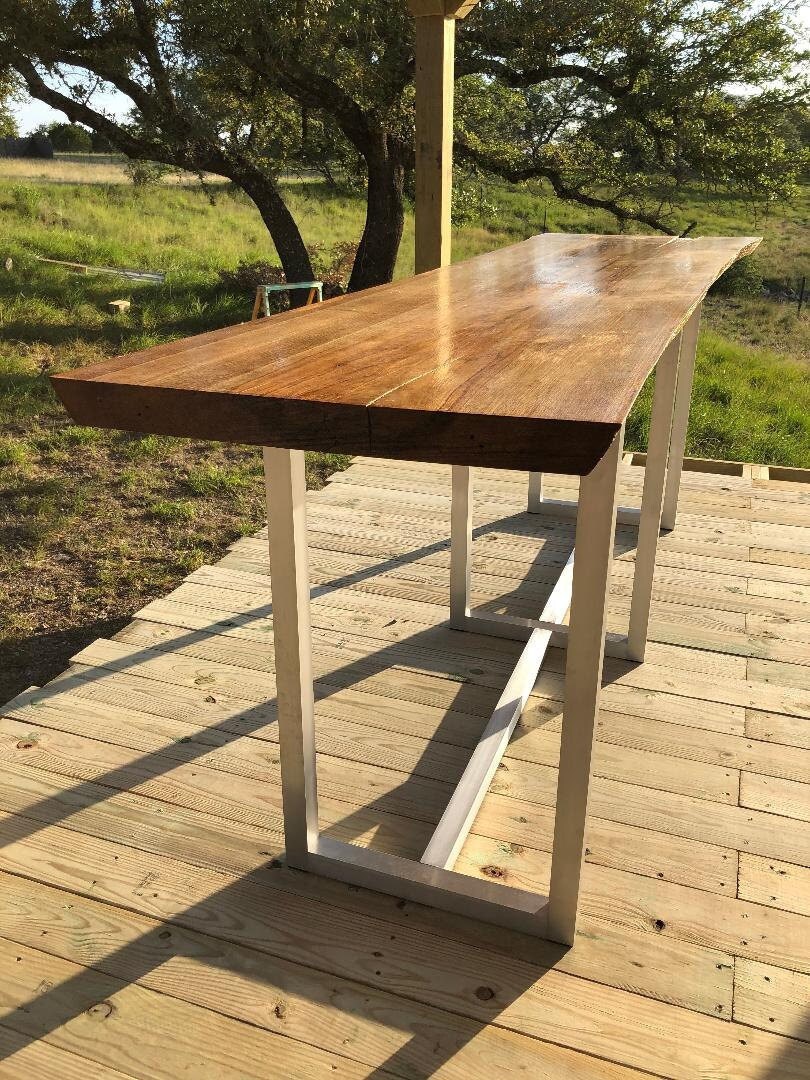
This heavy slab required the lower brace and a middle leg to suppport it.
Thin or Flexible Top:
Guidelines:
- Slab is flexible over a span of 4 feet = use anti sag brace
- Slab is flexible over a span of 4 feet + slab width is over 24 inches wide = use two anti sag braces
- Slab is a hollow core door = use lower brace add on
- Slab is IKEA hollow core top = use lower brace add on
- Slab is particle board or MDF = use lower brace add on
- Slab is 1 inch thick or less and solid wood = use lower brace add on
- Thin slab or particle board has a thick piece of wood laminated to the bottom for the leg fasteners to install into = no lower brace required, but the anti sag brace probably is if the above guidelines require it due to flexibility
More Information:
One would think heavy slabs are harder to design and build into a stable table, but it is actually thin tops that are more complex. Given the above guidelines, it is frequently the case that a thin or lightweight top will need both the lower brace add on and the anti sag brace(s), but this depends on the size of the slab and the intended use. Thin tops need bracing for two reasons: 1. The top is flexible and when flexing up and down, the result is a table that appears to wobble side-to-side; 2. Thin tops are not able to hold very much fastener length so the hinge effect could tear the fasteners out of the slab.
For clarity let's review each of these braces.
Anti Sag Braces: Anti sag braces are designed to support and remove the flexibility of a tabletop slab.
Lower Brace Add On: Lower Brace Add Ons are designed to remove the forces that attempt to hinge the table leg, effectively trying to tear it from the tabletop slab.
Let's look at a specific material to illustrate some of the above guidelines. The material is 1-inch thick solid wood, which is thin and flexible by definition. We will use this in three scenarios. In the first scenario, braces will not be required. In the second scenario, only the Lower Brace Add On is required. In the third scenario, both the Anti Sag Brace and the Lower Brace Add On are required.
Scenario One, The Side Table:
The material is 1-inch thick wood, cut to a 24-inch x 24-inch square to make a small side table. This table will not need Anti Sag Braces because the 24-inch span is fully supported by the legs and does not flex. Since I am not using this for anything heavy, the Lower Brace Add On will also not be required.
Scenario Two, The Side Table & Stool:
The material is 1-inch thick wood, cut to a 24-inch x 24-inch square to make a small side table that will also be used as a stool. This stool will be used for putting on shoes, so it must be able to hold a 200-pound adult. This table will not need Anti Sag Braces because the 24-inch span is fully supported by the legs and does not flex, even when sitting on it. Since I am using this for a heavy load, and the 1-inch thick top will not hold very much fastener length, I do need to use the Lower Brace Add On so that the hinge forces don't tear the leg fasteners out of the 1-inch thick wooden substrate.
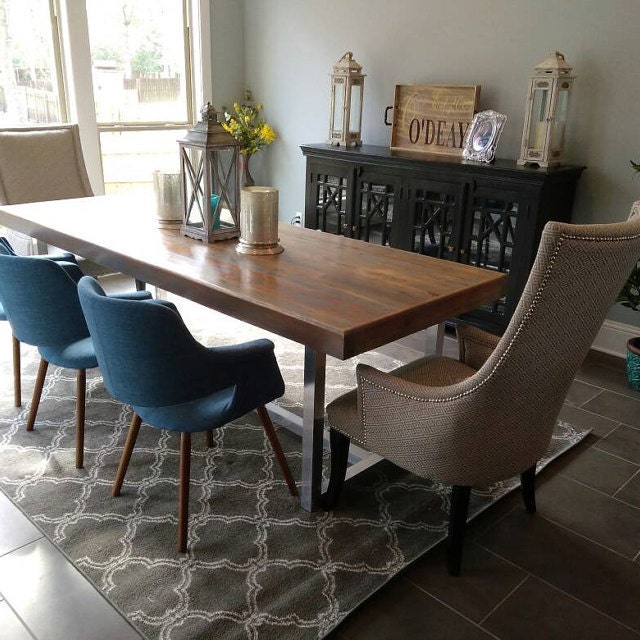
Scenario Three, The Dining Table:
The material is 1-inch thick wood, cut 7 feet long x 36-inches wide to make a dining table. Since this is definitely flexible over a 4' span, the Anti Sag Brace is required to support the top from sagging. Since the top is wider than 24 inches, two (2) Anti Sag Braces will be required. Because it is only 1-inch thick, the screws will barely penetrate the wood, so a Lower Brace Add On will also be required.
In summary, Anti Sag Braces support the top, while the Lower Brace Add On cancels out forces that are effectively trying to tear the legs off of the tabletop slab. Anti Sag Braces have little impact on the hinge forces the legs experience while the Lower Brace Add On has little impact on supporting a sagging top. The intended use of each brace is an important consideration when designing a table out of thin or flexible material. As the above scenarios illustrate, the dimensions and use of the finished table are important considerations as well.
As always, if you have questions, just send me a message and I will help!